Datta Able PRO#
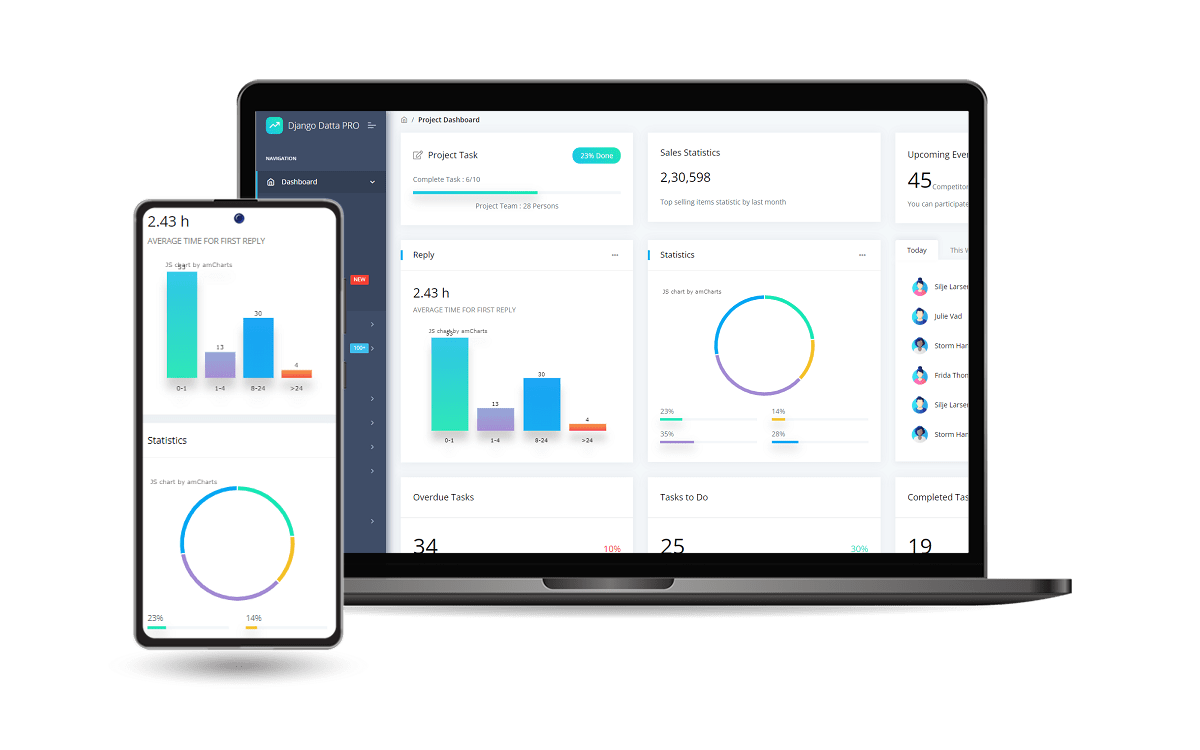
Premium Django and Bootstrap 5 Starter enhanced with OAuth, API, Charts, DataTables, Extended User Profiles, Media Files Manager and Docker support. - Datta Able design is a premium dashboard UI provided by CodedThemes.
👉 Datta Able Django PRO - Product Page (contains download link)
👉 Datta Able Django PRO - LIVE Demo
👉 Get Support via Email and Discord
👉 New to App-Generator? Sign IN with GitHub or Generate Web Apps in no time (free service).
Features#
Up-to-date dependencies
Datta Able PRO Design Integration
Bootstrap Styling
Dynamic Tables - LIVE Demo
Dynamic API - LIVE Demo
Charts - LIVE Demo
Media Files Manager
Session-based Authentication, Password recovery
OAuth (GitHub & Google)
Extended User Profiles (Name, Address, Phone .. etc)
DB Persistence: SQLite (default), can be used with MySql, PgSql
- Django CLI Package
Commit/rollback Git Changes
Backup & restore DB
Interact with Django Core
Manage Environment
Manage Dependencies
Docker, CI/CD for Render
Vite for assets management
Prerequisites#
A few tools need to be installed in the system to use the starter efficiently:
Download Source Code#
Access the product page and complete the purchase. Unpack the ZIP archive and folow thhe installation steps:
unzip django-datta-able-pro.zip
cd django-datta-able-pro
Once the source code is unzipped, the next step is to start it and use provided features.
Start in Docker#
The fastest way to start the product is to execute the Docker set up:
docker-compose up --build
If Docker is properly installed in the system, you can visit the browser at http://localhost:5085. Product should be up and running.
Codebase#
The project is coded using a simple and intuitive structure presented below:
Core: holds the project settings
Home: the application that integrates the Datta Able Design
Api: the generated API
< Project ROOT >
    |
    |-- core/              # Implements app configuration
    |    |-- settings.py   # Defines Global Settings
    |    |-- wsgi.py       # Start the app in production
    |    |-- urls.py       # Define URLs served by all apps/nodes
    |
    |-- home/              # Serves all pages from the UI Kit
    |
    |-- apps/
    |    |
    |    |-- common/       # Assets used by all APPS (models, helpers)
    |    |-- users/        # Handles Auth Flow
    |    |-- api/          # DRF API
    |    |-- charts/       # Charts APP
    |    |-- tables/       # DataTables APP
    |    |-- tasks/        # Celery App
    |
    |-- templates/         # Pages & Templates
    |-- assets/            # Static Assets [ JS, CSS, images ]
    |
    |-- requirements.txt   # Development modules - SQLite storage
    |
    |-- .env               # Environment
    |-- env.sample         # Environment Sample
    |
    |-- manage.py          # Django Manager File
Manual Build#
It’s best to use a Python Virtual Environment for installing the project dependencies. You can use the following code to create the virtual environment
virtualenv env
To activate the environment execute env\Scripts\activate.bat for Windows or source env/bin/activate on Linux-based operating systems.
Having the VENV active, we can proceed and install the project dependencies:
pip install -r requirements.txt
Environment#
The starter loads the environment variables from .env file. Here are the critical ones:
DEBUG: set by default to False (development mode)
SECRET_KEY: a random value used by Django to secure sensitive information like passwords and cookie information
- Database Credentials: DB_ENGINE, DB_USERNAME, DB_PASS, DB_HOST, DB_PORT, DB_NAME
if detected, the database is switched automatically from the default SQLite to the specified DBMS
Setting up the Database#
By default, the application uses SQLite for persistence. In order to use MySql / PostgreSQL, you’ll need to install the Python driver(s):
pip install mysqlclient # for MySql
# OR
pip install psycopg2    # for PostgreSQL
To connect the application with the database, you’ll need to fill in the credentials int the .env file and run the migrations.
DB_ENGINE=mysql
# OR
DB_ENGINE=postgresql

# DB credentials below
DB_HOST=localhost
DB_NAME=<DB_NAME_HERE>
DB_USERNAME=<DB_USER_HERE>
DB_PASS=<DB_PASS_HERE>
DB_PORT=3306
Use the following commands to set up the database:
python manage.py makemigrations
python manage.py migrate
Running the project#
The following command starts the project using Django development server:
python manage.py runserver          # Starts on default PORT 8000
python manage.py runserver 8999     # Starts on PORT 8999 (custom port)
By default Django starts on port 8000 but this can be easily changed by adding the PORT number as argument. At this point, the app runs at http://127.0.0.1:8000/
Create Users#
By default, the app redirects guest users to authenticate. In order to access the private pages, follow this set up:
Start the app
Access the registration page and create a new user: - http://127.0.0.1:8000/register/
Access the sign in page and authenticate - http://127.0.0.1:8000/login/
The superusers can be easily created via the CLI:
python manage.py createsuperuser
Prerequisites#
A few tools need to be installed in the system to use the starter efficiently: